Keeping users engaged on your website is crucial for improving retention, reducing bounce rates, and enhancing the overall user experience. One powerful way to achieve this is by using the Happy Addons Advanced Toggle Widget. This dynamic tool allows you to create interactive toggle sections that help display content in a structured and user-friendly manner. Whether you’re presenting FAQs, feature comparisons, pricing tables, or any expandable content, this widget ensures a seamless and engaging browsing experience.
In this guide, we’ll explore how the Advanced Toggle Widget enhances interactivity and usability in Elementor. Let’s get started!
Why Use the Happy Addons Advanced Toggle Widget?
An interactive and well-organized content structure significantly enhances user engagement. Here’s why the Advanced Toggle Widget stands out:
- It allows you to display content in expandable sections, reducing clutter and improving readability.
- With smooth animations and transitions, it enhances the user experience.
- It supports multiple toggle styles, including accordion and switch-based layouts.
- Its mobile-responsive design ensures seamless adaptation to all devices.
- It effectively organizes complex information, making it easy for users to navigate.
Where to Use the Advanced Toggle Widget?
Thanks to its versatility, the Advanced Toggle Widget can be used in various sections of your website. Below are some practical applications:
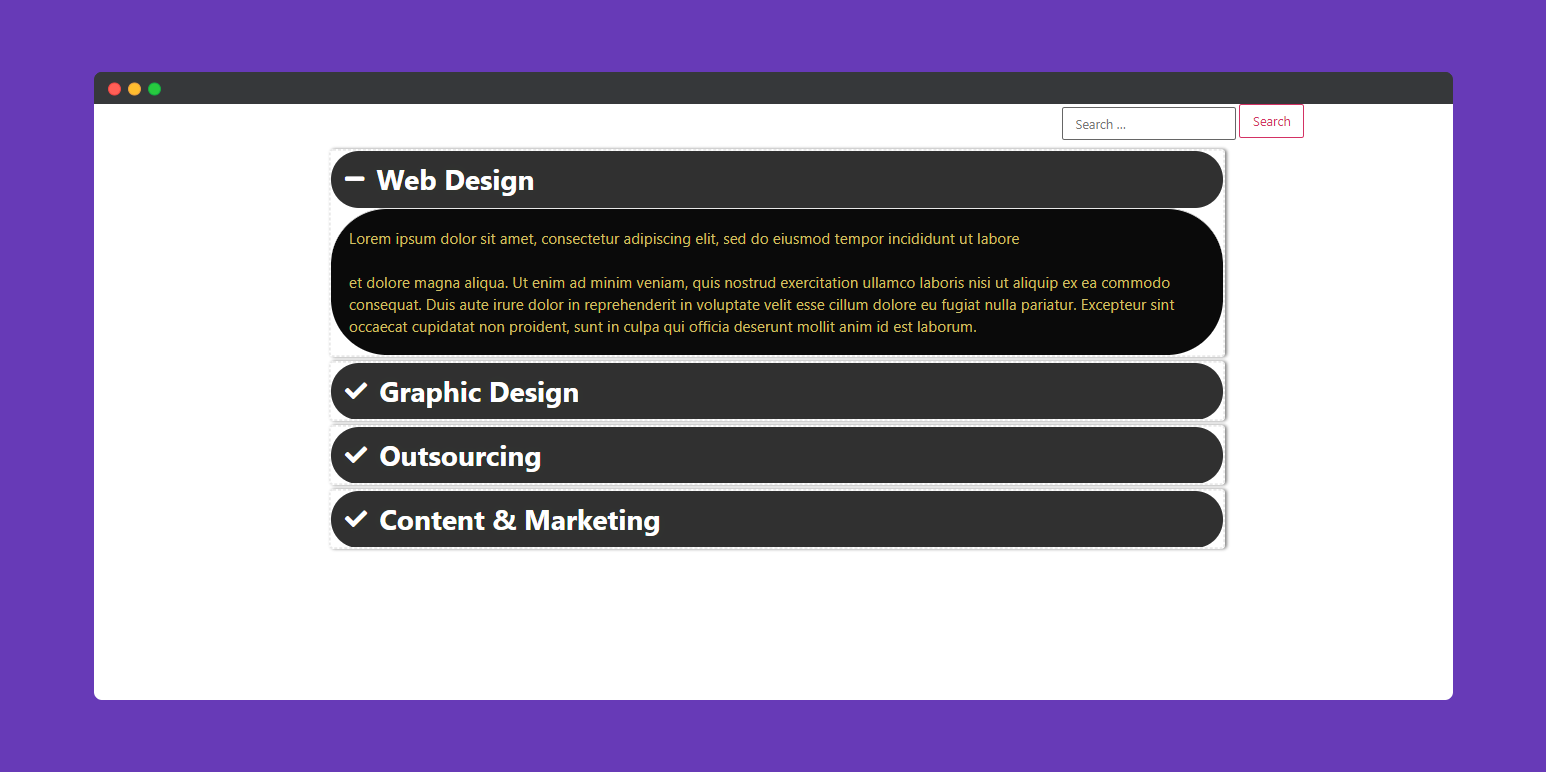
1. FAQs & Help Sections
Improve the user experience by presenting FAQs in an interactive and structured format. Instead of overwhelming users with long paragraphs, let them expand only the questions they need answers to.
2. Feature Comparisons
Create side-by-side feature comparisons with toggles, helping users easily understand differences between products, services, or pricing plans. This is ideal for SaaS websites, tech reviews, or eCommerce stores.
3. Pricing Plans & Offers
Showcase pricing options with expandable toggle sections, allowing users to switch between monthly and yearly plans effortlessly. Additionally, you can use this feature to highlight discounts, limited-time deals, or membership benefits.
4. Content Organization for Blogs & Courses
For blogs and educational websites, toggles help hide lengthy explanations under expandable sections. This makes reading more interactive and prevents users from feeling overwhelmed by too much content at once.
5. Step-by-Step Guides & Tutorials
Present step-by-step instructions in an organized manner. Users can expand sections as they progress, improving the learning experience while keeping the content structured and digestible.
How to Optimize Engagement Using the Advanced Toggle Widget
1. Customize Toggle Styles for a Visually Appealing Look
Design your toggles to match your brand identity by customizing typography, colors, icons, and background styles. This ensures a cohesive and polished appearance.
2. Use Icons & Animations for Better Interactivity
Icons and animations make toggles more engaging. With Happy Addons, you can:
- Add custom icons for open/close states.
- Use smooth animations for seamless transitions.
- Adjust colors, sizes, and spacing to enhance visual appeal.
3. Create Clickable & Dynamic Toggle Sections
Increase interactivity by linking toggle items to relevant pages, ensuring a better user journey. This is perfect for navigational menus, service and pricing pages, or help center articles.
4. Ensure Mobile-Friendly Toggle Behavior
Since many users browse on mobile devices, optimize toggle sections by:
- Using touch-friendly buttons for smooth interactions.
- Ensuring toggle elements collapse properly on smaller screens.
- Keeping spacing and padding balanced for a clean mobile experience.
5. Improve Content Engagement with Dynamic Toggles
Keep your content fresh and engaging by displaying dynamic data in toggle sections. For instance, you can:
- Show the latest blog posts or featured content inside toggles.
- Update live pricing and promotional offers dynamically.
- Display real-time testimonials or customer feedback.
Additional Tips for Enhancing User Experience
- Use bold and colored text to emphasize important points.
- Enable smooth transitions to create a professional effect.
- Combine toggles with other widgets (like buttons and icons) for a more interactive layout.
- Use numbered steps for guides and tutorials to improve clarity.
How to Use the Advanced Toggle Widget in Elementor
The Advanced Toggle Widget in Happy Addons makes it easy to create fully customized and visually appealing toggle sections. You can add text, images, icons, and links, and modify styles for a seamless user experience.
Getting Started
- Open your Elementor editor and navigate to the desired page.
- Drag and drop the Advanced Toggle Widget from Happy Addons.
- Customize the layout, colors, icons, and toggle effects to match your brand.
- Add your content and set interactions like default open/close states.
- Save and preview the page to ensure smooth functionality.
By leveraging the Happy Addons Advanced Toggle Widget, you can enhance user engagement, improve navigation, and create a more interactive website experience. Try it today and make your Elementor website stand out! 🚀
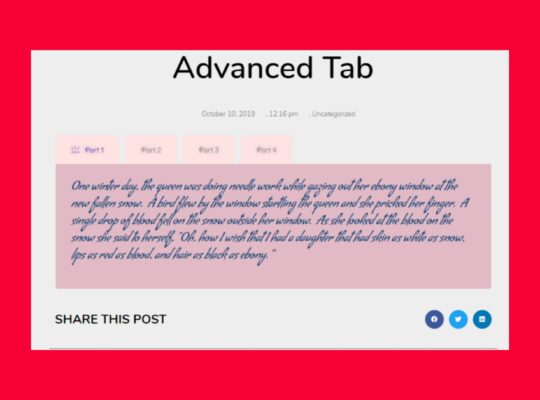
How to Use the Advanced Toggle Widget in Happy Elementor Addons
The Advanced Toggle widget in Happy Elementor Addons Pro is a powerful tool that lets you seamlessly switch between multiple content views with a simple click. Whether you’re displaying FAQs, pricing plans, or feature comparisons, this widget makes it easy to present information interactively.
Step 1: Add the Advanced Toggle Widget
Start by selecting the Advanced Toggle widget from the left sidebar in Happy Elementor Pro and dragging it onto your desired section.
Step 2: Customize the Content
Once added, navigate to the Content tab, where you’ll find two main options:
- Toggle – Add multiple toggle items with custom titles, icons, forms, and content to fit your needs.
- Options – Modify settings to enhance usability and functionality.
Additionally, you can customize the Opening Icon and Closing Icon to provide a visually engaging experience.
Step 3: Style Your Toggle Widget
To make your toggle widget visually appealing, go to the Style tab. Here, you can customize:
- Items – Adjust width, height, padding, borders, and more.
- Title – Modify typography, colors, background, text shadow, border radius, and other stylistic elements.
- Content – Personalize text spacing, border types, colors, and background styling.
Want precise control over the space between the title and icons? You can easily adjust it here for a perfect layout.
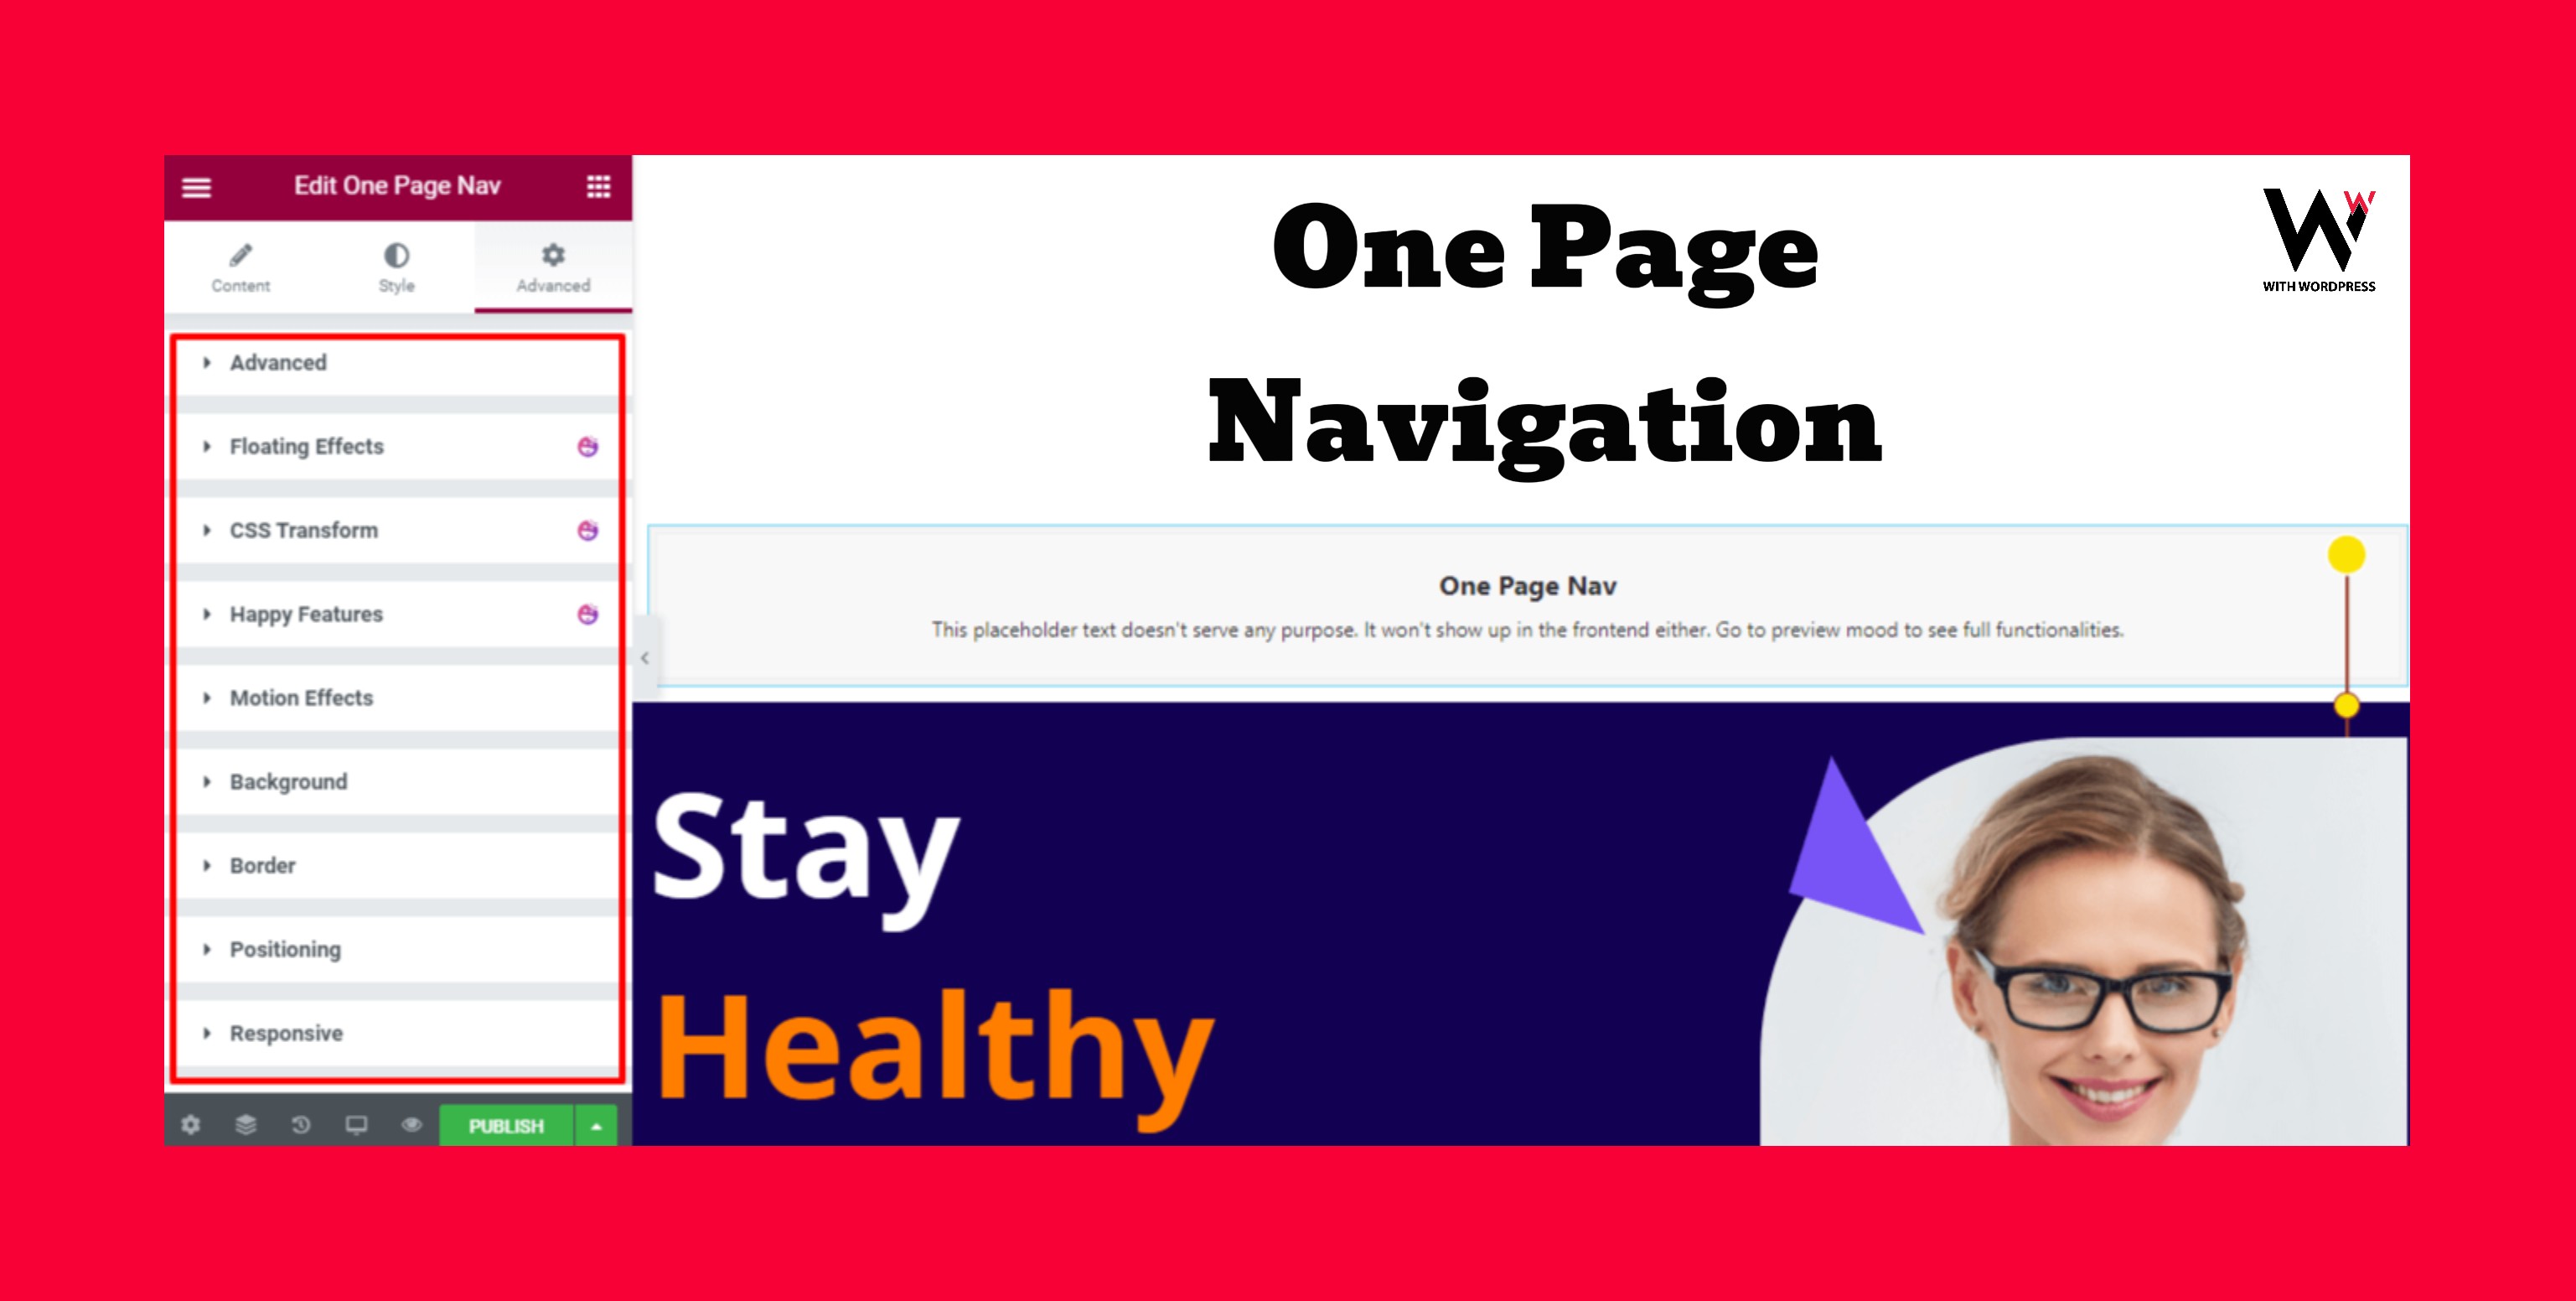
Step 4: Enhance with Advanced Features
For additional customization, click on the Advanced tab. Here, you can add:
- Motion Effects to make the toggle transition smoother.
- Background Customizations to align with your brand aesthetics.
- Responsive Settings to ensure the widget looks great on all devices.
Step 5: Publish and Enjoy!
Once you’ve perfected the design, hit Publish to make it live on your website. The Advanced Toggle Widget offers endless possibilities—get creative and enhance user interaction effortlessly!
Looking for a membership website CLICK HERE
GO BACK TO HOME