Boost User Engagement with Happy Addons List Group Widget
Maintaining user engagement on your website is key to reducing bounce rates, increasing conversions, and enhancing overall user experience. One effective way to achieve this is by using the Happy Addons List Group Widget. This powerful tool allows you to create structured, visually appealing, and interactive list layouts. Whether you’re showcasing features, pricing, testimonials, or navigation menus, this widget ensures a seamless and engaging user experience.
In this guide, we’ll explore how the List Group Widget can boost engagement and usability in Elementor. Let’s dive in!
Why Use the Happy Addons List Group Widget?
A well-organized list structure significantly enhances the user experience. Here’s why the Happy Addons List Group Widget stands out:
- ✔ It allows you to design visually appealing lists with icons, images, and badges.
- ✔ It improves content readability with a well-structured format.
- ✔ It enhances navigation by making lists interactive and clickable.
- ✔ It increases user engagement through animations and hover effects.
- ✔ It ensures mobile responsiveness for seamless use across all devices.
Where to Use the List Group Widget?
Thanks to its versatility, the List Group Widget can be utilized across various sections of your website. Here are some practical applications:
1. Feature & Benefits Lists
When showcasing product or service features, you can highlight key benefits using icon-based lists. For instance, adding colorful icons and tooltips enhances clarity, making the content visually appealing and easier to digest.
2. Pricing & Plan Comparisons
Breaking down pricing tiers into an easy-to-read list format is a great way to guide users. Additionally, adding badges like “Best Value” or “Most Popular” can help users choose the right plan effortlessly.
3. Service & Offerings Breakdown
Presenting your services in a clear and concise format is crucial. By using checkmarks or icons, you can make the content more accessible and digestible, ensuring visitors quickly understand your offerings.
4. FAQs & Help Sections
Transform your FAQ section into an interactive, expandable list for better user interaction. This approach makes it much easier for visitors to find the information they need quickly and efficiently.
5. Navigation & Directory Lists
For blogs, eCommerce stores, or business websites, you can use the List Group Widget to create organized category-based navigation lists. This not only improves the browsing experience but also keeps users engaged.
How to Optimize Engagement Using the List Group Widget
1. Design an Eye-Catching List Layout
To make your lists stand out, customize typography, colors, and spacing according to your brand identity. By optimizing these elements, you ensure readability and create an inviting look that encourages interaction.
2. Use Icons & Badges for Better Readability
Icons and badges improve list readability by allowing users to scan content faster. With Happy Addons, you can:
- ✔ Add custom icons beside each list item.
- ✔ Use badges such as “New” or “Featured” to highlight key points.
- ✔ Adjust icon colors, sizes, and alignments to make the list more visually appealing.
3. Make Lists Interactive with Clickable Items
By making list items clickable, you can direct users to relevant pages, enhancing navigation. This feature is especially useful for:
- ✔ Service pages
- ✔ Blog categories
- ✔ Product listings
- ✔ Help center articles
4. Ensure Mobile-Friendly Lists
The List Group Widget automatically adjusts for different screen sizes, but you can further optimize for mobile by:
- ✔ Using a single-column layout for easier readability.
- ✔ Reducing padding between list items for a more compact display.
- ✔ Ensuring sufficient tap-friendly spacing to improve mobile interaction.
5. Improve Engagement with Dynamic Lists
Keeping your content fresh is vital for user retention. With Elementor’s dynamic features, you can:
- ✔ Automatically display recent posts.
- ✔ Highlight the most popular articles or top-rated products.
- ✔ Showcase user-generated content, such as testimonials or reviews.
Additional Tips for Enhancing User Experience
- ✔ Number lists for step-by-step instructions.
- ✔ Use bold or colored text to emphasize key points.
- ✔ Add animations to enhance the interactive experience.
- ✔ Enable smooth scrolling to improve navigation.
How to Use The List Group Widget of Happy Elementor Addons
The List Group widget lets you create fully styled and easy customizable lists for your website. You can add icon, image, text, links and modify the presentation of your list with this widget.
Getting Started with the List Group Widget
To begin, open your Elementor editor and start customizing the desired page.
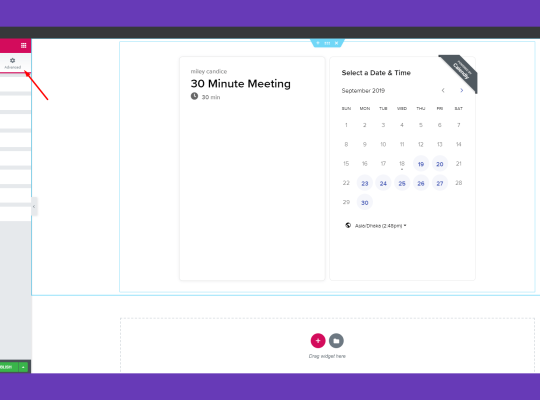
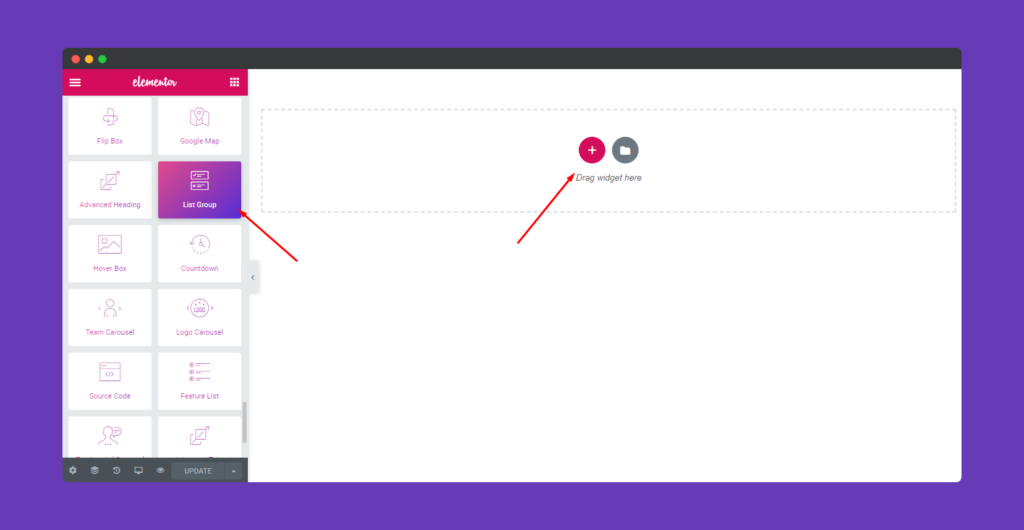
Step 1: Add the List Group Widget
Drag and drop it into your chosen section on the page.
Locate the List Group widget in the left-hand menu bar.
Step 2: Configure List Items
Once the widget is added, you’ll see two main tabs: Content and Settings.
- List Items: This section displays all the items in your list. You can rearrange them by dragging and dropping.
- Add Item: Click this button to include additional list entries.
- Delete Item: Remove any unwanted items by clicking the X button next to them.
Click on any item to customize its details:
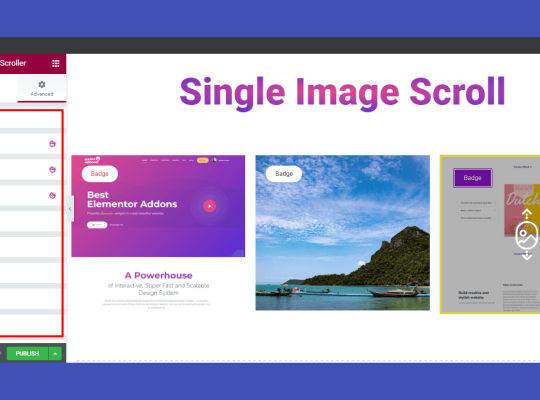
- Media Type: Choose between icons, numbers, or images for each item.
- Title: Enter a heading for the item.
- Badge Text: Add a badge to highlight specific items (e.g., “New” or “Popular”).
- Description: Provide a brief explanation or details about the item.
- Direction Icon: Select an icon from the library or upload an SVG file.
- Link: Add a URL to make the item clickable. Use the Link Options cog to open the link in a new tab or add
rel=nofollow. - Custom Look: Adjust the title color, background color, description color, and border color for a personalized touch.
Step 3: Customize List Settings
Under the Settings tab, you can modify the overall list style and layout:
- List Mode: Choose how your list is displayed (e.g., vertical or horizontal).
- Direction Position: Set the alignment of items from left to right or right to left.
Note: If you customize colors in the Custom Look section, these changes may override the Global Color settings in the Style tab. Additionally, link colors will only appear if a URL is added.
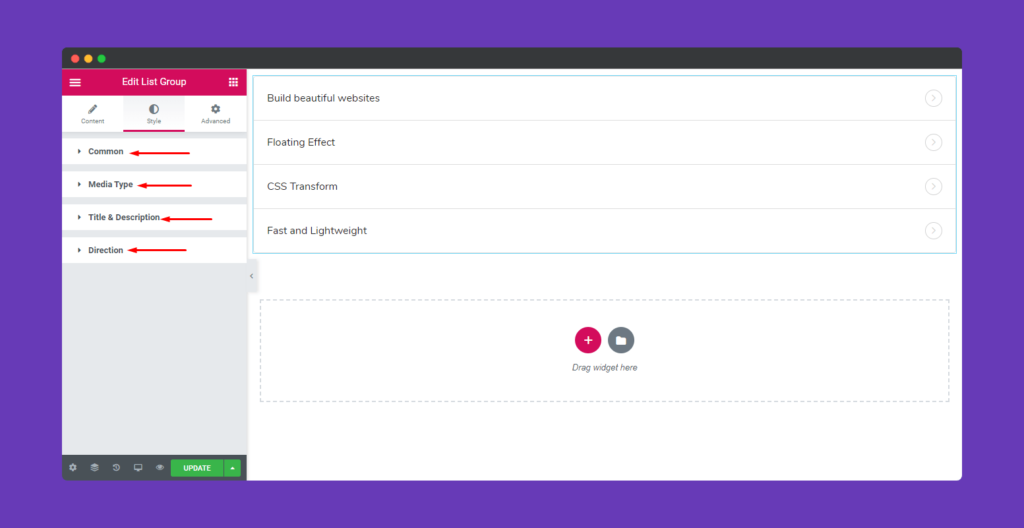
Step 4: Style Your List
Switch to the Style tab to fine-tune the appearance of your list:
- Common Settings: Adjust padding, border type, width, color, border radius, and box shadow for each item.
- Media Type: Customize the size, color, and spacing of icons, numbers, or images.
- Title and Description: Modify typography settings for both normal and hover states.
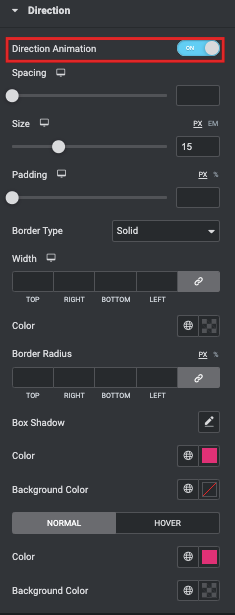
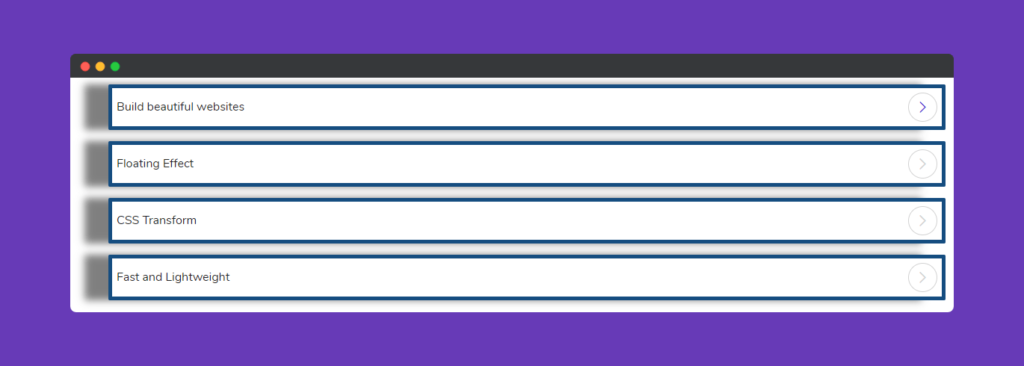
- Direction Icon: Change the icon’s style and enable animations for added interactivity.
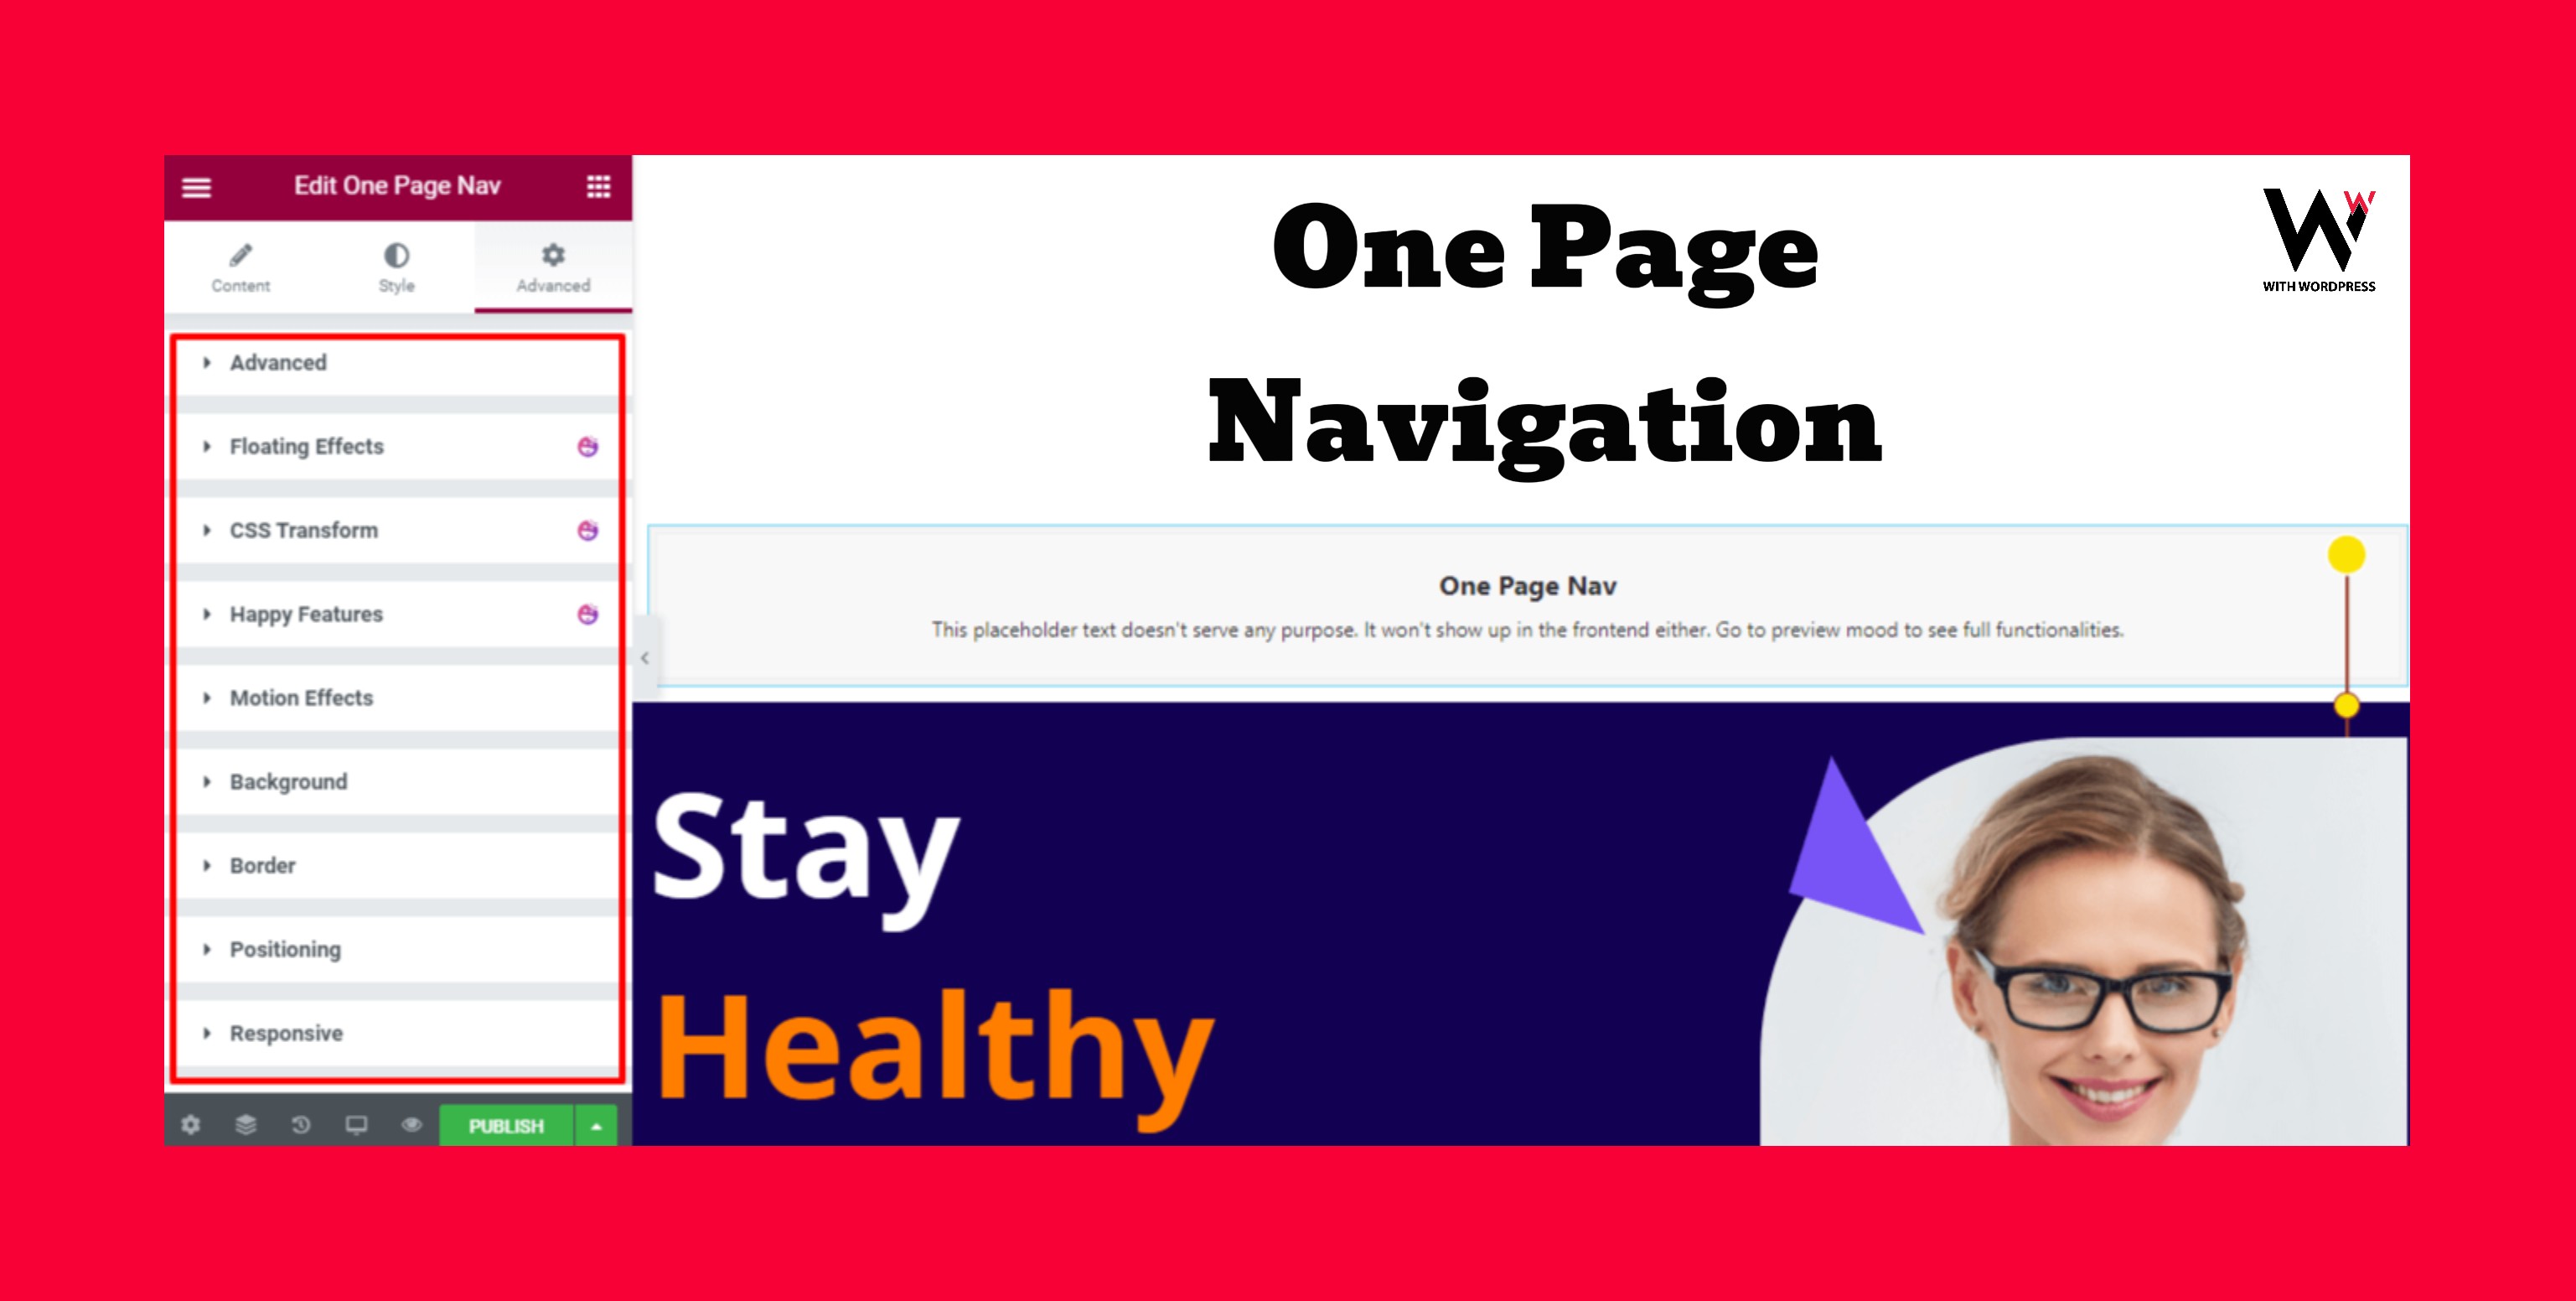
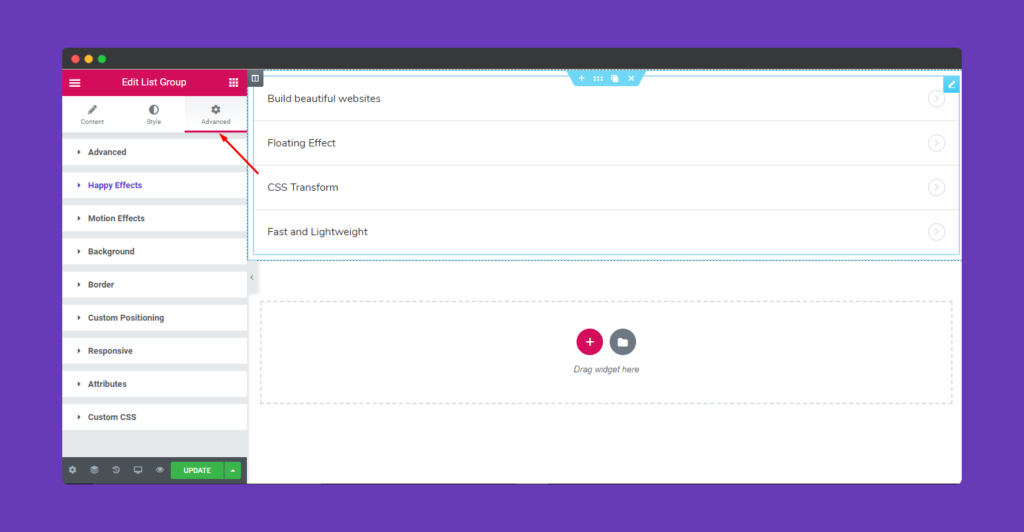
Step 5: Explore Advanced Options
For additional customization, click on the Advanced tab to access features like:
- Motion Effects: Add animations to your list items.
- Happy Effects: Apply unique hover or click effects.
- Background: Set a background color or image for the list.
- Responsive Controls: Optimize the list for different screen sizes.
These advanced options are part of Elementor’s default features. For a deeper understanding, refer to the official Elementor documentation.
Step 6: Publish Your Work
Once you’ve completed all customizations, click Publish to make your list live on the website.
Final Thoughts
The Happy Addons List Group Widget is an invaluable tool for creating well-structured, engaging, and interactive lists in Elementor. By customizing your design, adding icons, making lists clickable, and ensuring mobile responsiveness, you can significantly enhance user engagement and improve website navigation. Start optimizing your lists today to keep users engaged and increase conversions!
Looking for a membership website CLICK HERE
GO BACK TO HOME