Design SEO-Friendly Layouts with Advanced Tab Widget
A well-structured website layout plays a crucial role in enhancing user experience, reducing bounce rates, and improving search engine rankings. One effective way to achieve this is by using the Advanced Tab Widget in Elementor. This powerful tool allows you to organize content into interactive tab sections, making navigation easier and more engaging for visitors. Whether you’re showcasing product details, services, comparisons, or step-by-step guides, the Advanced Tab Widget helps keep your content clean, structured, and SEO-friendly.
In this guide, we’ll explore how the Advanced Tab Widget enhances usability, engagement, and SEO performance in Elementor. Let’s dive in!
Why Use the Advanced Tab Widget for SEO-Friendly Layouts?
A well-optimized content structure is essential for both users and search engines. The Advanced Tab Widget offers several benefits:
- Better User Engagement: Interactive tab layouts encourage visitors to explore more content without overwhelming them.
- Improved Readability: Organizes complex information into categorized sections, making it easy to digest.
- SEO Benefits: Helps structure content with proper HTML elements, improving on-page SEO.
- Mobile Responsiveness: Ensures smooth adaptability across all screen sizes.
- Faster Loading Times: Reduces excessive scrolling and keeps pages lightweight by displaying content efficiently.
Where to Use the Advanced Tab Widget?
The versatility of this widget makes it suitable for various applications across different types of websites. Here are some effective use cases:
1. Product & Service Showcases
Display product features, specifications, or service details in neatly organized tab sections. This is perfect for eCommerce stores, SaaS platforms, and business websites.
2. Comparisons & Feature Highlights
Make it easier for users to compare multiple products, subscription plans, or services by using structured tabbed layouts. This enhances decision-making and boosts conversions.
3. FAQs & Help Sections
Instead of long, cluttered FAQ pages, organize common questions into tabs categorized by topics, improving user experience.
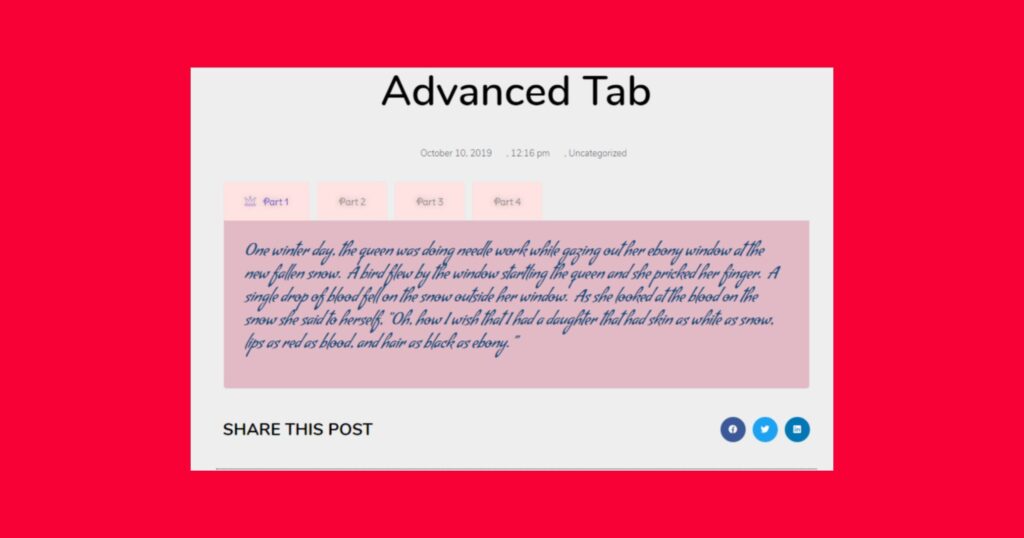
4. Step-by-Step Guides & Tutorials
Break down complex tutorials into step-by-step tabbed sections, making it easier for users to follow along. Ideal for educational websites, online courses, and documentation.
5. Portfolio & Case Studies
Showcase work samples, success stories, or client testimonials in a structured manner, keeping your portfolio clean and engaging.
By integrating the Advanced Tab Widget, you can improve your website’s design, user engagement, and SEO performance. Start using it today to create interactive, well-structured layouts that enhance both user experience and search rankings! 🚀
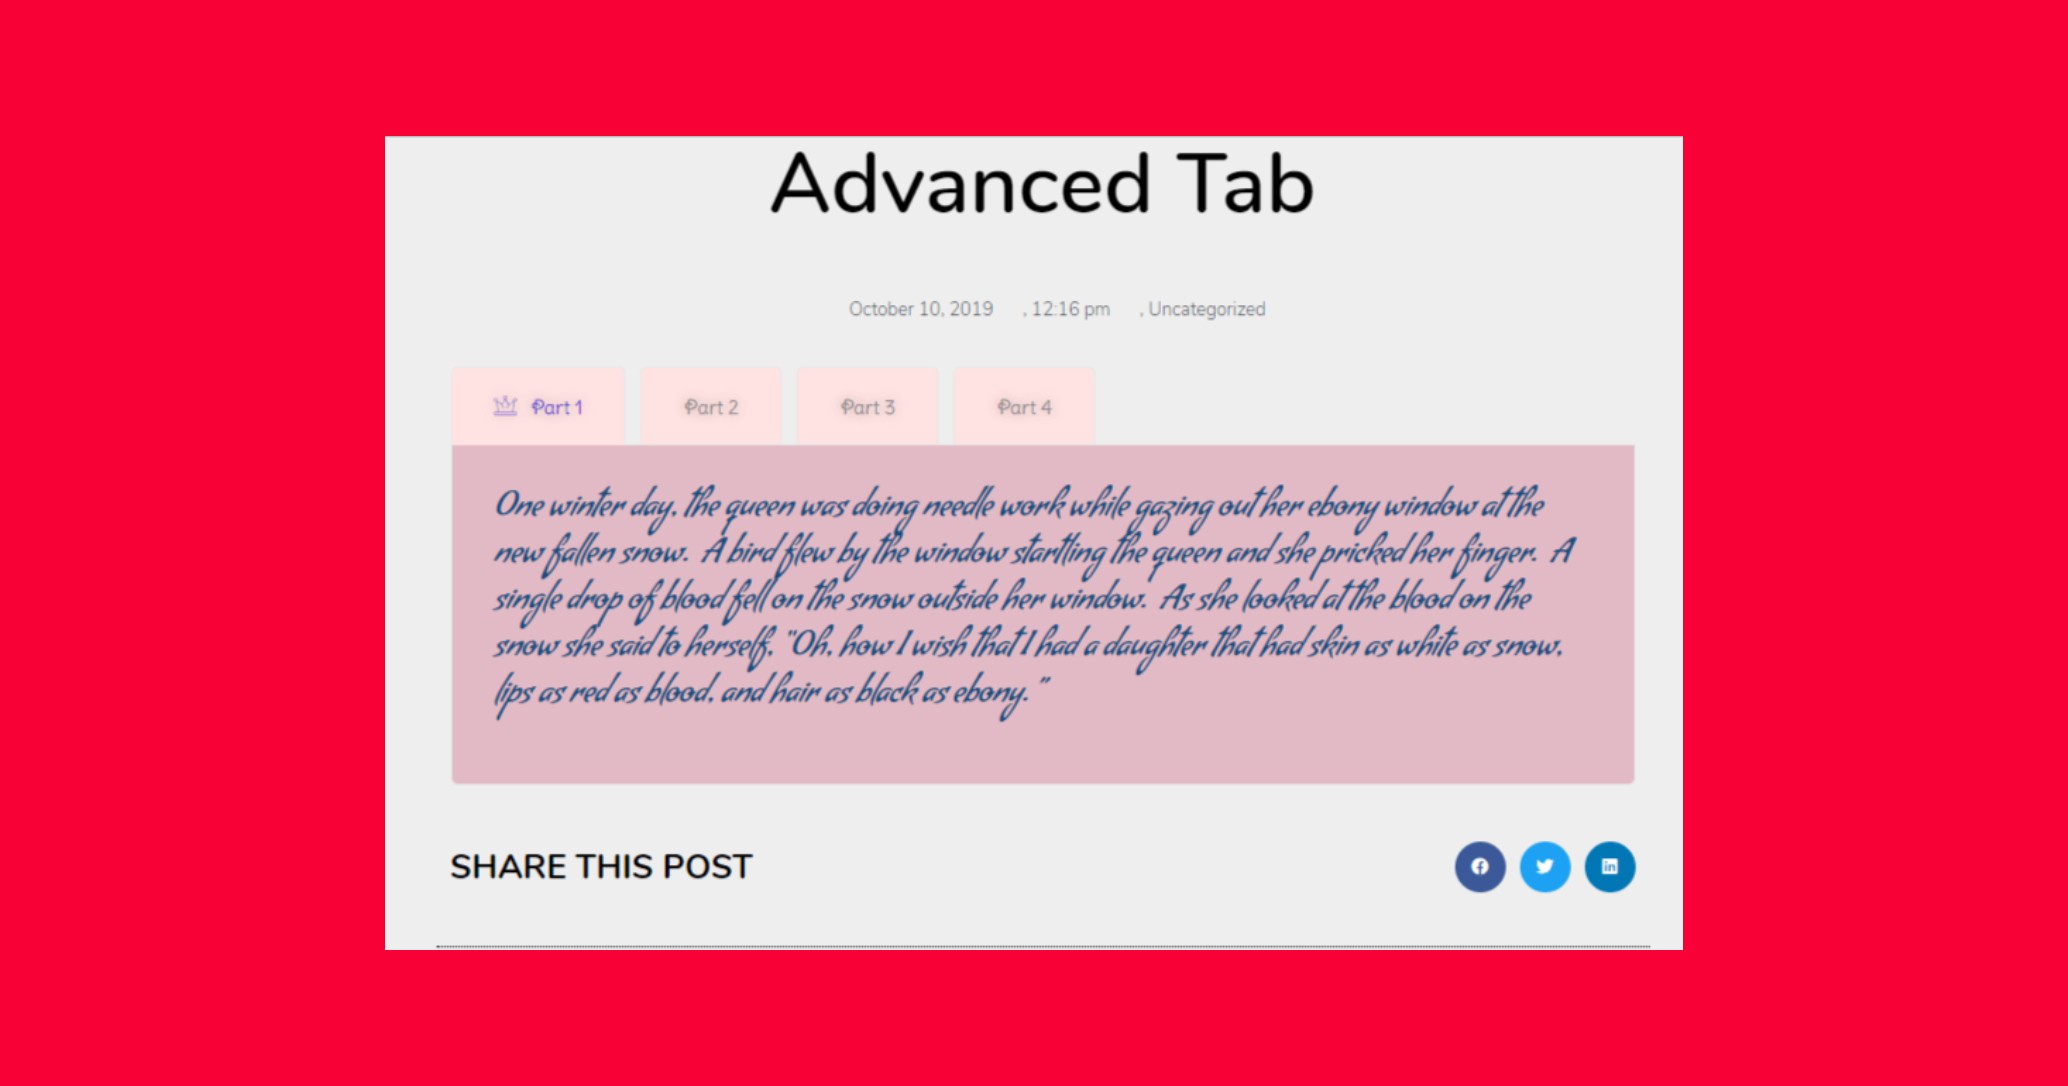
How to Use the Advanced Tab Widget in Happy Elementor Addons
The Advanced Tab Widget enables you to incorporate a tabbed section anywhere on your Elementor site. It helps present extensive information in a compact, organized format, improving readability and user experience.
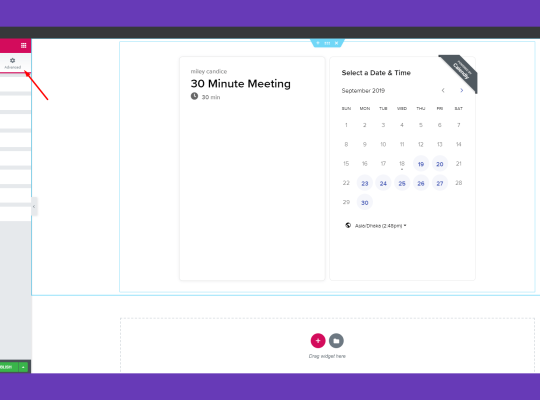
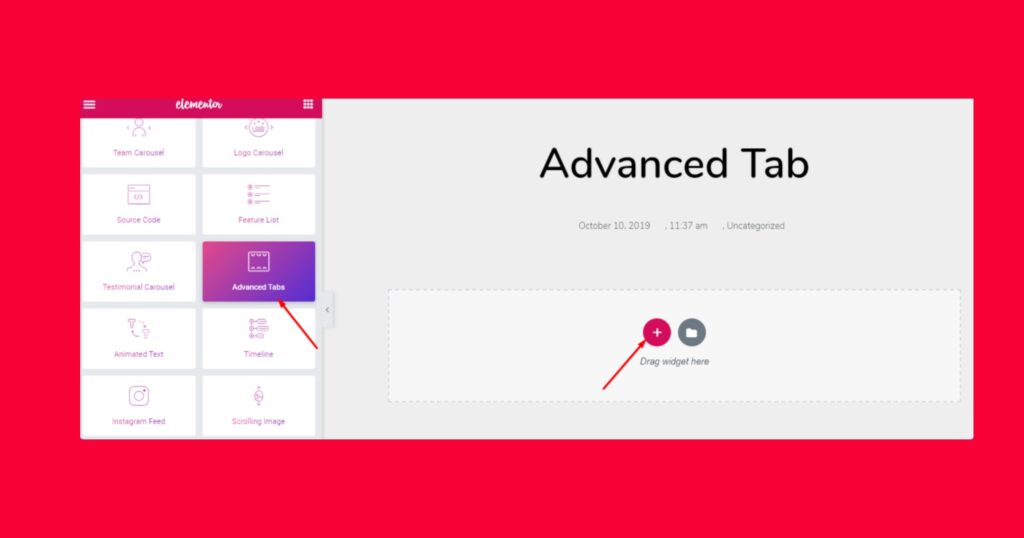
Step 1: Add the Widget to Your Page
- Open your Elementor editor and start editing the desired page.
- Locate the Advanced Tab Widget from the left-hand menu.
- Drag and drop it into the designated section of your page.
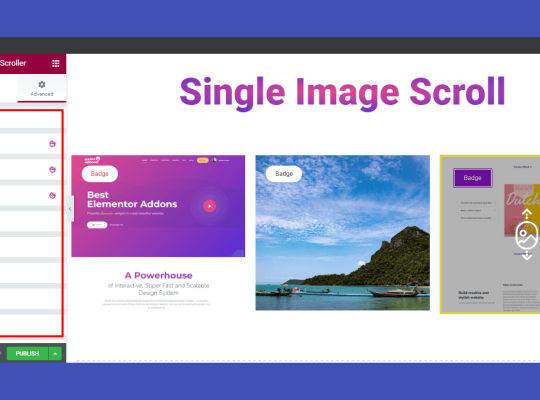
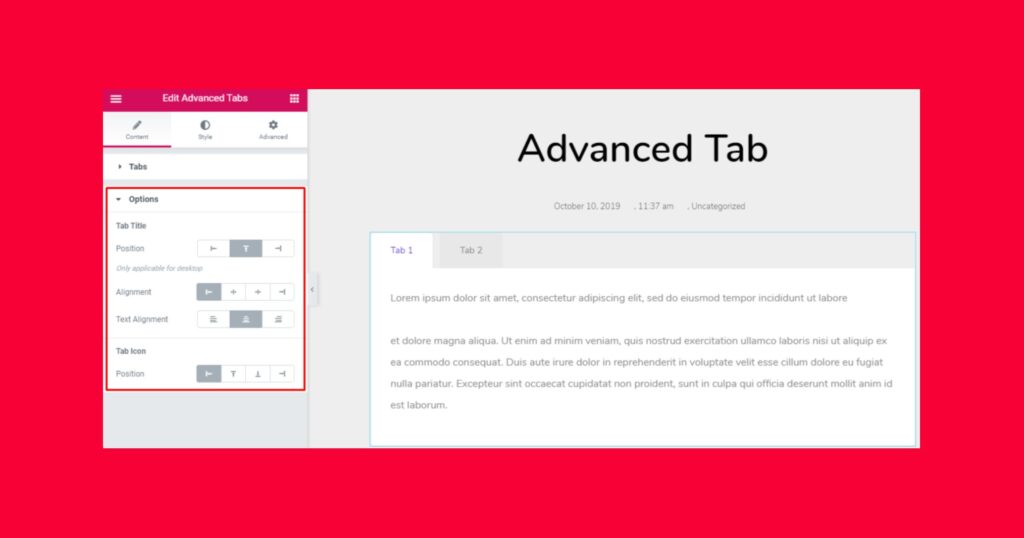
Step 2: Customize the Tab Settings
Once added, a settings panel will appear under the Content tab, allowing you to configure your tab attributes.
- The left-side panel provides customization options, while the right-side canvas displays the default tab layout.
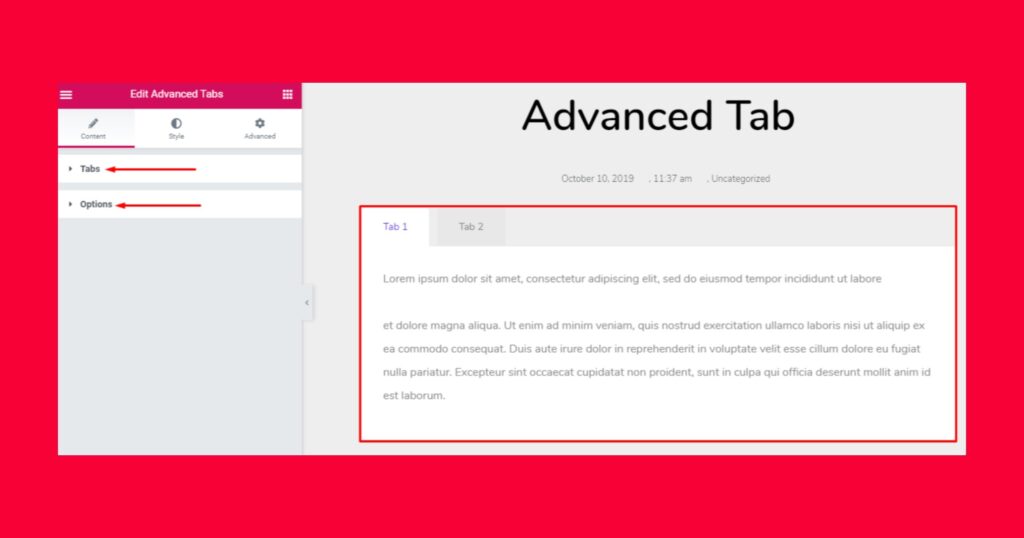
- Click on individual tabs to modify their content.
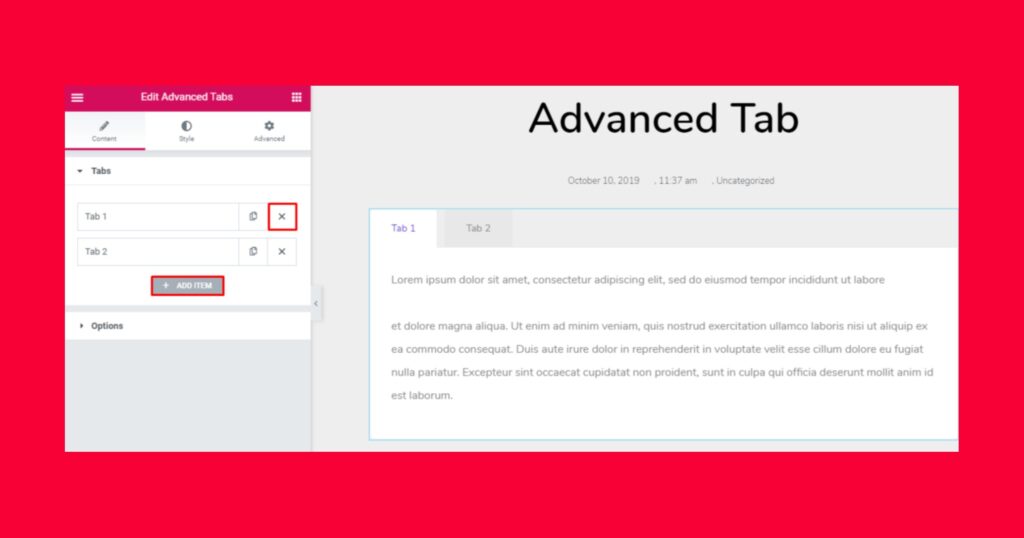
- Use the “Tabs” option to add or remove tabs.
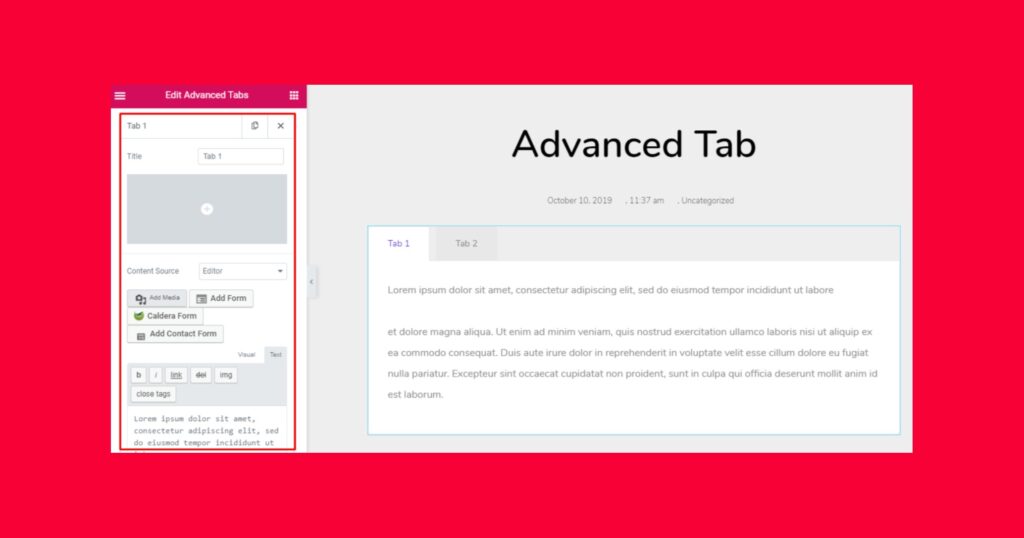
- Adjust tab titles, icons, content, media files, and more.
- Modify the alignment and positioning of tab elements through the Options menu.
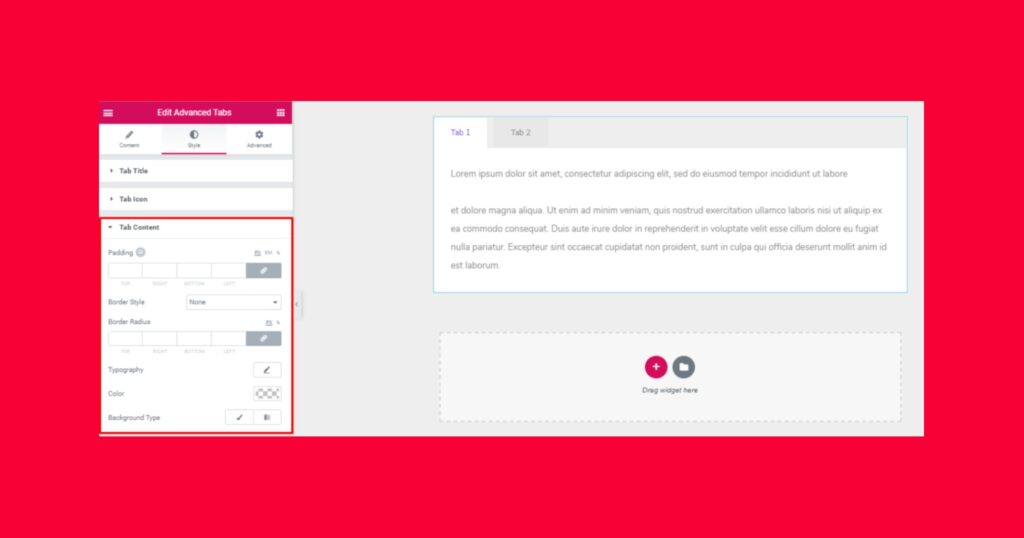
Step 3: Style Your Tabs
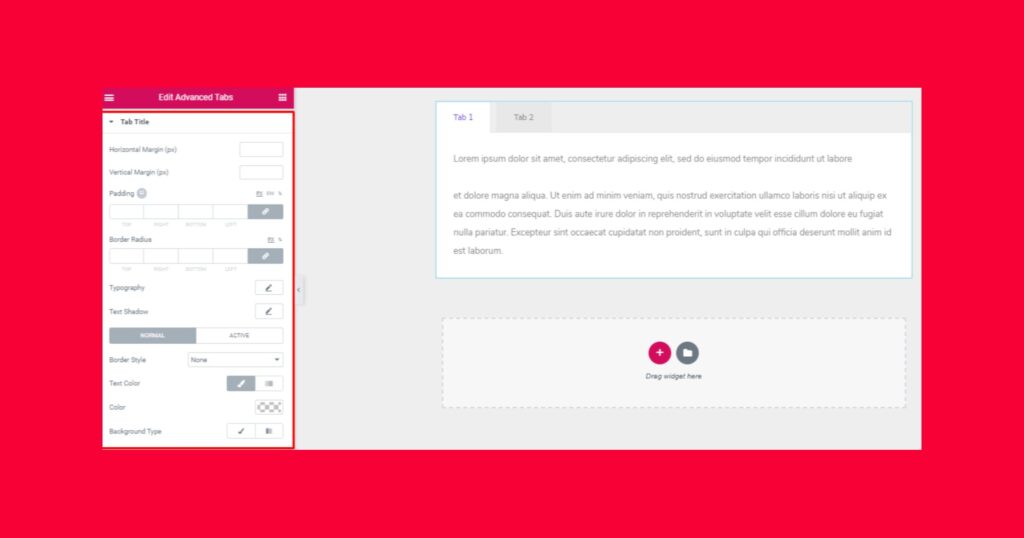
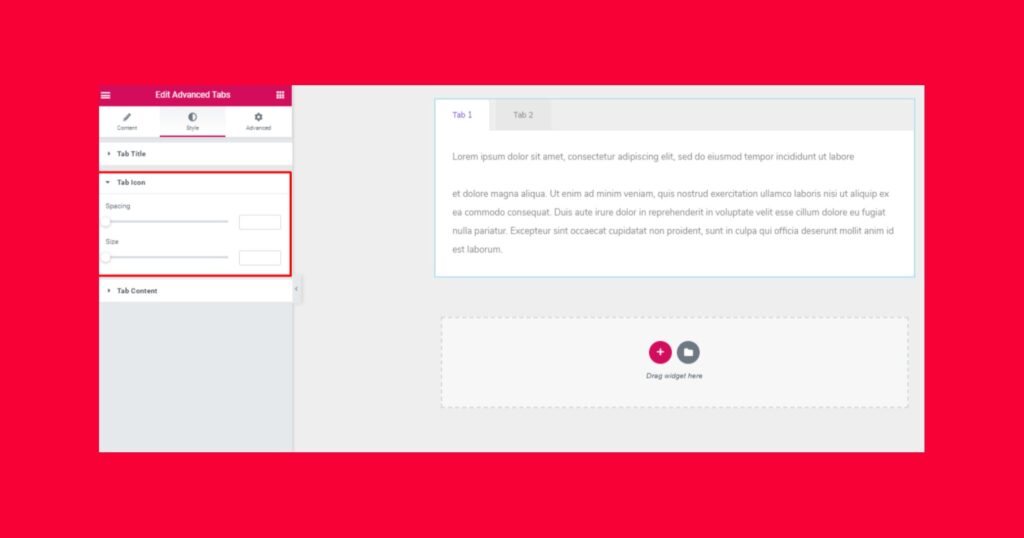
To enhance the appearance of your tabs, switch to the Style tab. Here, you can fine-tune various design elements:
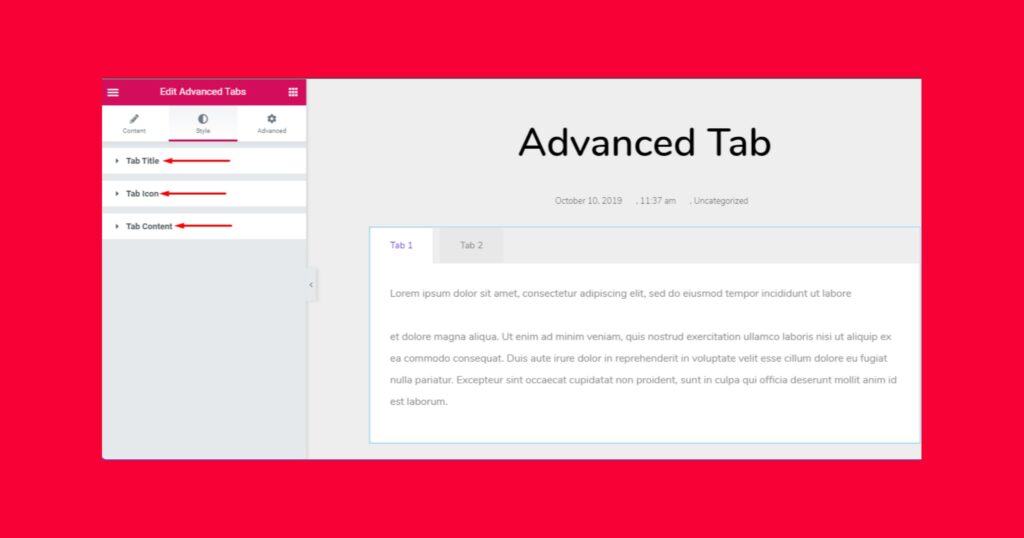
- Customize text color, typography, margin, padding, and spacing for the Tab Title.
- Adjust the size and spacing of the Tab Icon.
- Modify the background, border, typography, and color of the Tab Content.
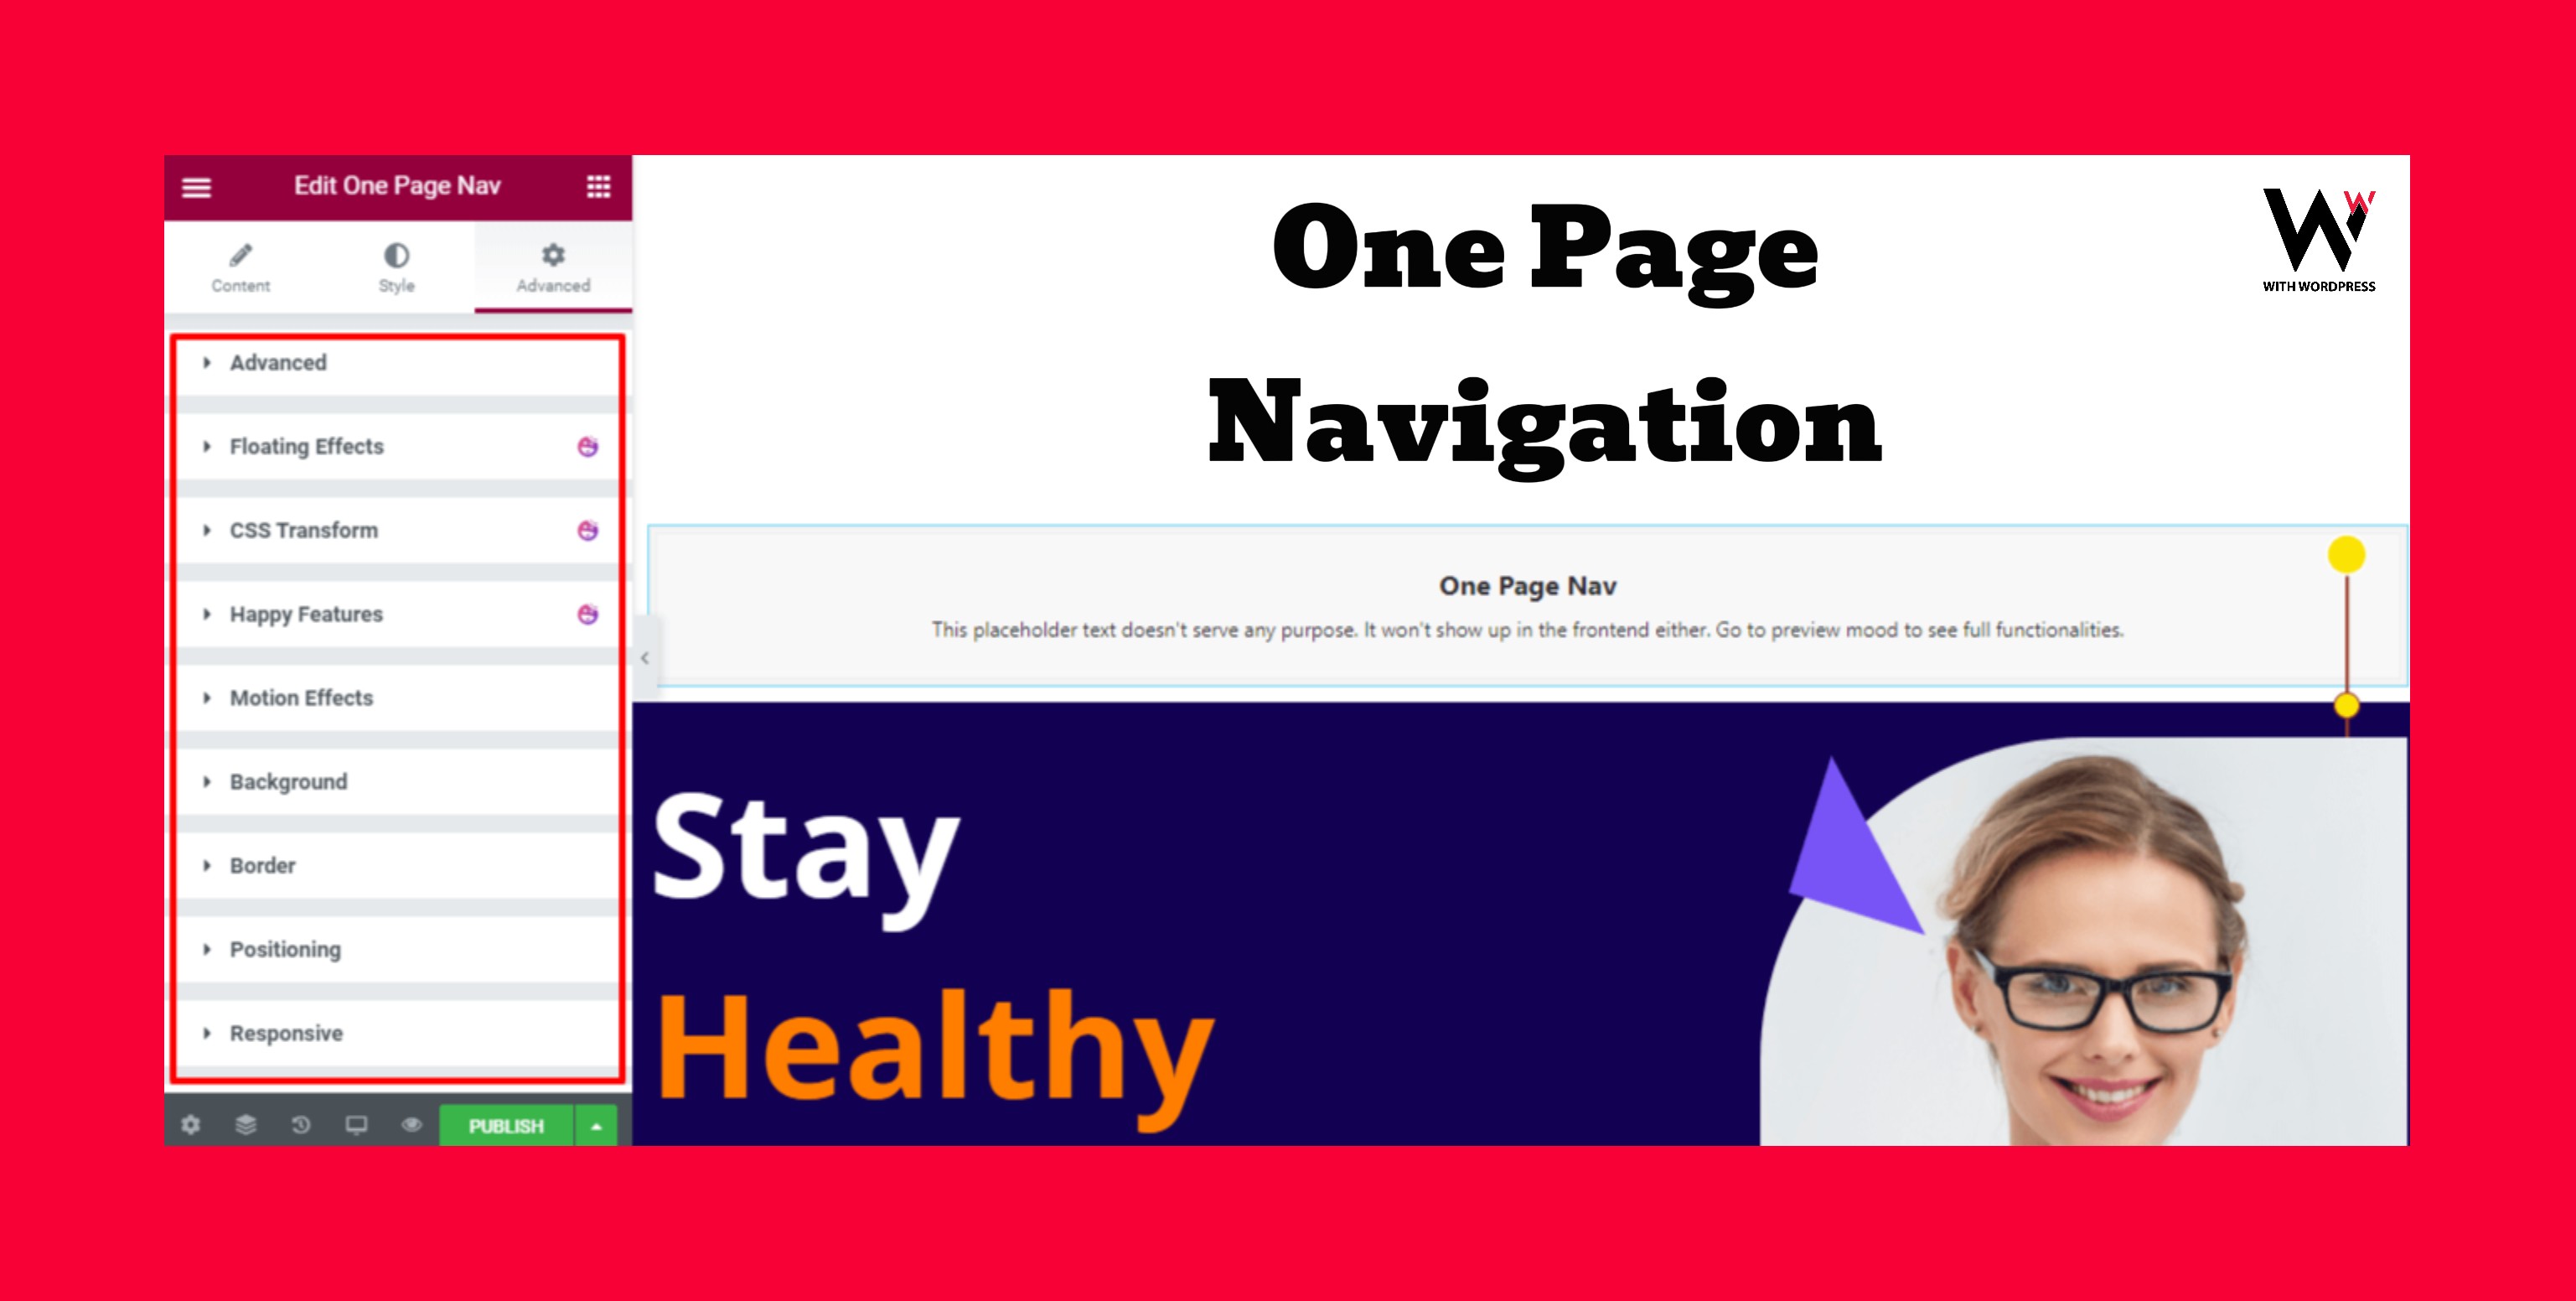
Step 4: Apply Advanced Effects
For additional customization, navigate to the Advanced tab (a built-in Elementor feature). Here, you can:
- Add motion effects and animations.
- Apply background styles.
- Ensure responsiveness across different devices.
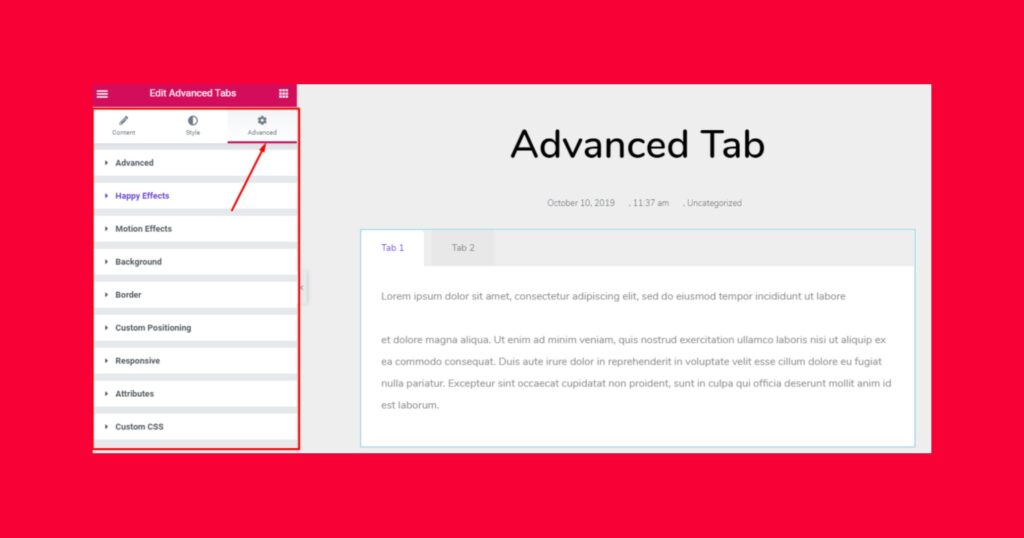
Once satisfied with your modifications, click Publish to make your design live.
Final Thoughts
Congratulations! 🎉 You’ve successfully customized the Advanced Tab Widget and enhanced your Elementor page! 🚀 By following these steps and tips, you can create SEO-friendly layouts that are both visually appealing and highly functional.
Looking for a membership website CLICK HERE
GO BACK TO HOME